Stage 5: Install and Configure ThingsBoard
Completion requirements
End-to-End Test
Switch your device and gateway on and follow these steps to confirm everything is working correctly.
- Open the ThingsBoard UI by browsing to
http://THINGSBOARD_IP_ADDRESS:8081/. - Click Dashboards in the side menu.
- Click on the new Moisture Sensor Dashboard item in the list and click Open dashboard.
- Fully insert the probes of the moisture sensor into a glass of water or a pot of damp soil so that the full length of the metal plating is submerged into the water or soil.
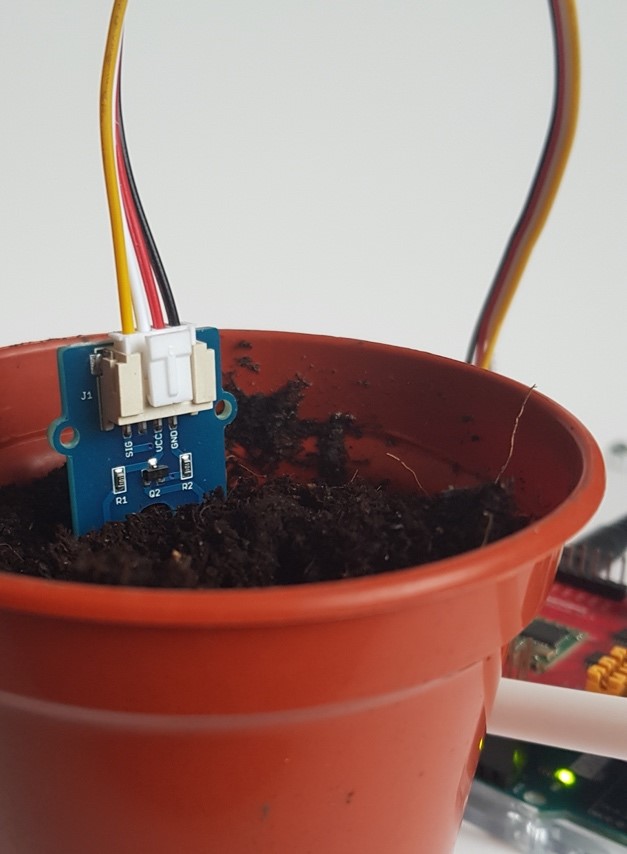
Figure 18: Testing the LoRaWAN® network with real-life conditions
- Now, observe the digital gauge on the ThingsBoard dashboard. When the next uplink message is sent and propagates through the system, the gauge will show a reading. Try removing the probes and verifying that the reading goes back to zero, or try testing the moisture level in various media to see the reading vary between 0 and 1000.

Figure 19: The end node moisture reading displayed on a simple ThingsBoard dashboard