Stage 3: Building Your Gateway
Set Up LoRa® Concentrator Shield
The concentrator shield featuring LoRa is the module on top of the Raspberry Pi. Selecting your shield in the ChirpStack Gateway OS Graphical User Interface (GUI) will set values specific to your hardware in the gateway configuration files.
-
If you are not already at the gateway configuration screen, enter the following command and password:
sudo gateway-config

admin
-
Select Setup LoRa concentrator shield and press Enter.
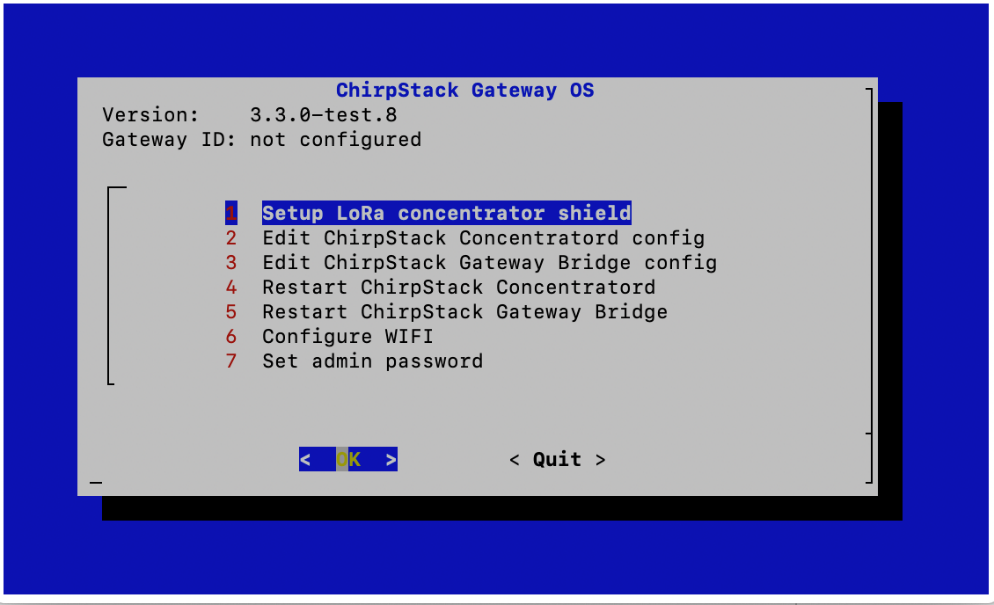
Figure 12: Setup LoRa concentrator shield option in the configuration screen
-
Select your shield from the list and press Enter.
Note
If you are using the Pi Supply reference shield for this lab, choose the item labelled Pi Supply - LoRa Gateway HAT.
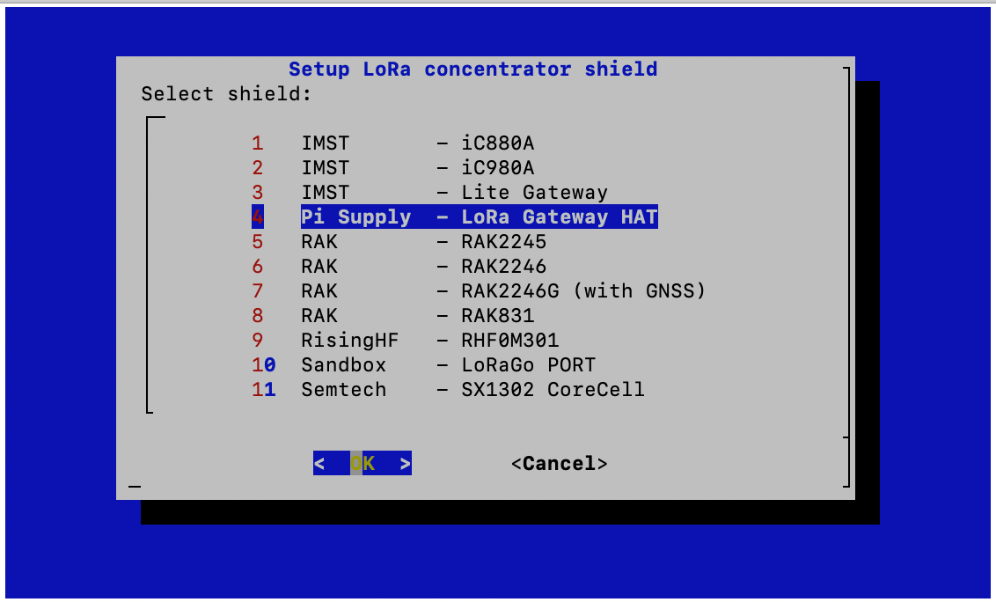
Figure 13: Pi Supply - LoRa Gateway HAT option in the Setup LoRa concentrator shield screen
-
Select the Channel-plan configuration that matches your region, and press Enter.
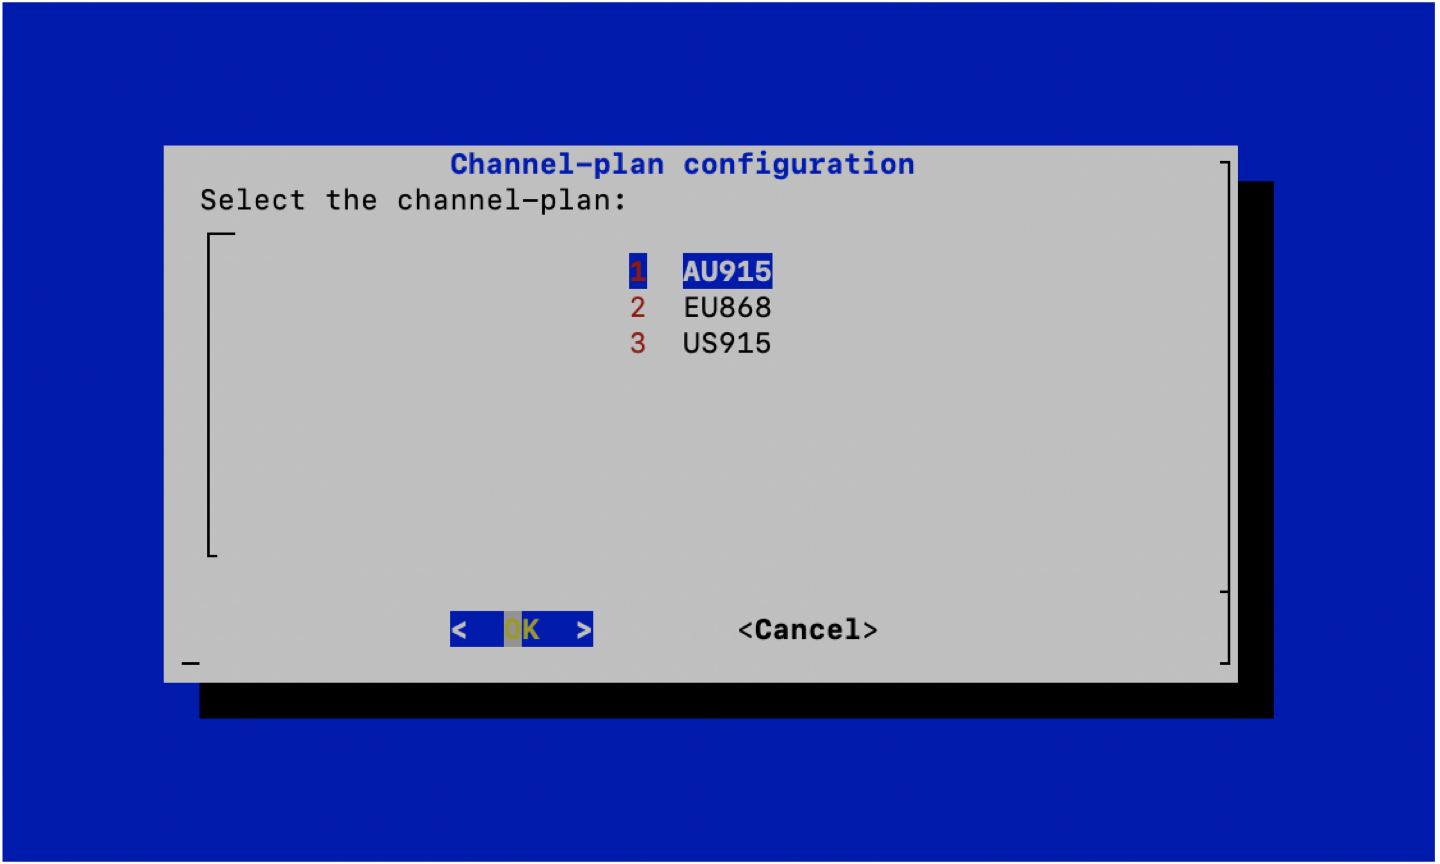
Figure 14: Channel plan options in the Channel-plan configuration screen
If the region you selected is a fixed channel plan region, such as US915 or AU915, you will see the Channel-plan configuration screen. Select Channels 8 - 15 + 65 and press Enter.
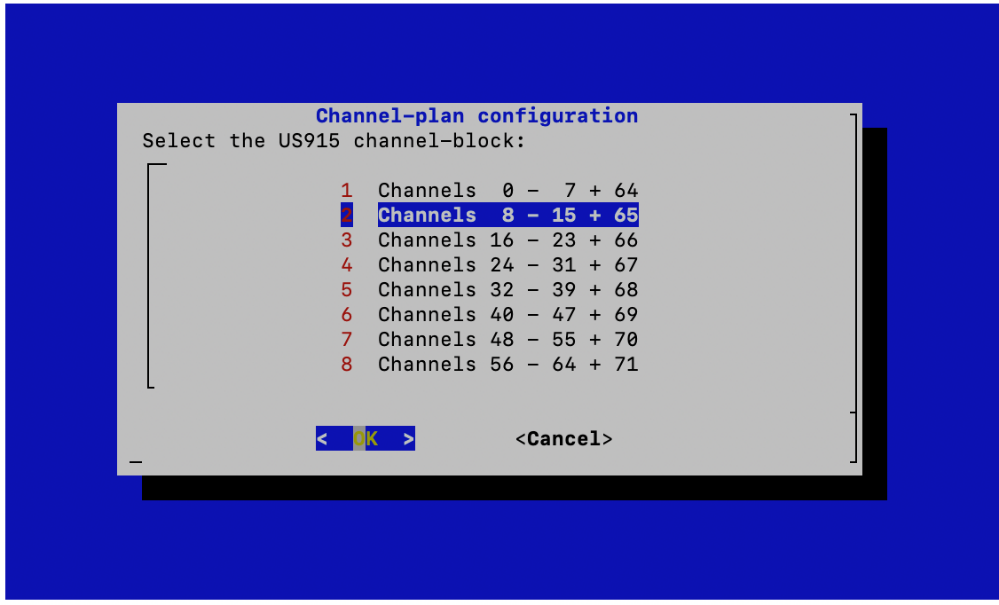
Figure 15: Channels 8 - 15 + 65 option in the Channel-plan configuration screen
Note
There are different channel blocks on which uplink messages can be sent in fixed channel plan regions. These need to match between your hardware, gateway, and network server. The network server uses channels 8-15; therefore you select the same channel block here.
-
Confirm the Channel-plan configuration by pressing Enter.
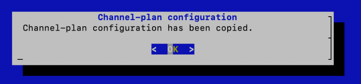
Figure 16: Channel-plan configuration confirmation screen
-
Confirm the Restart ChirpStack Concentratord message by pressing Enter.
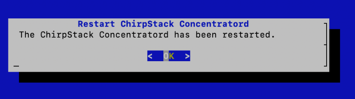
Figure 17: Restart ChirpStack Concentratord confirmation screen
You will be returned to the configuration screen.
-
Select Reload Gateway ID, press Enter, and wait for the Gateway ID to show a valid ID.
Warning
Often, this does not work the first time, and the Gateway ID is not displayed. Repeat this step until the Gateway ID displays.
-
Make a note of your Gateway ID from the header of the configuration screen. You will need this later. We refer to this as the GATEWAY_EUI.
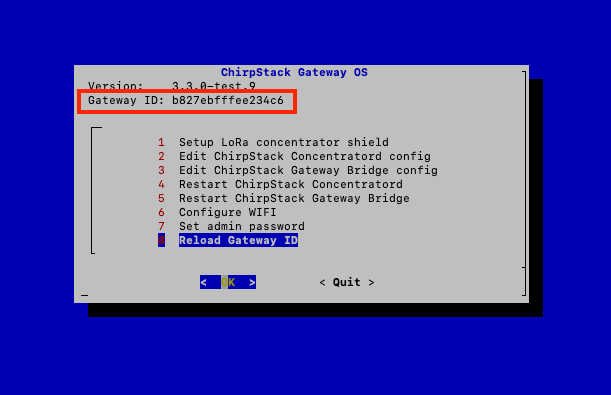
Figure 18: Reload Gateway ID option in the configuration screen
-
Use the Right Arrow key to select Quit, and then press Enter.
The ChirpStack Gateway OS is now installed on the Raspberry Pi and configured to work with your concentrator shield.