Stage 3: Building Your Gateway
Assemble the Gateway and Raspberry Pi
If you are using the reference gateway and Raspberry Pi (Raspberry Pi 3B+ and Pi Supply Gateway HAT featuring LoRa), these instructions will guide you through the setup process. If you selected one of the other shields or kits, please follow the instructions supplied by the hardware manufacturer.
-
Attach the 40-pin terminal to the bottom of the board.
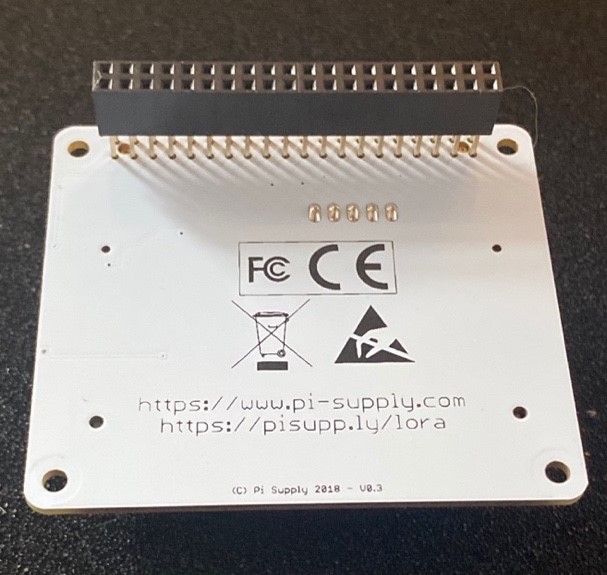
Figure 1: 40-pin terminal on the bottom of the gateway HAT
-
Attach the antenna to the terminal on the top of the board by lining up the antenna with the connection on the board and pressing firmly. The antenna should snap into place.
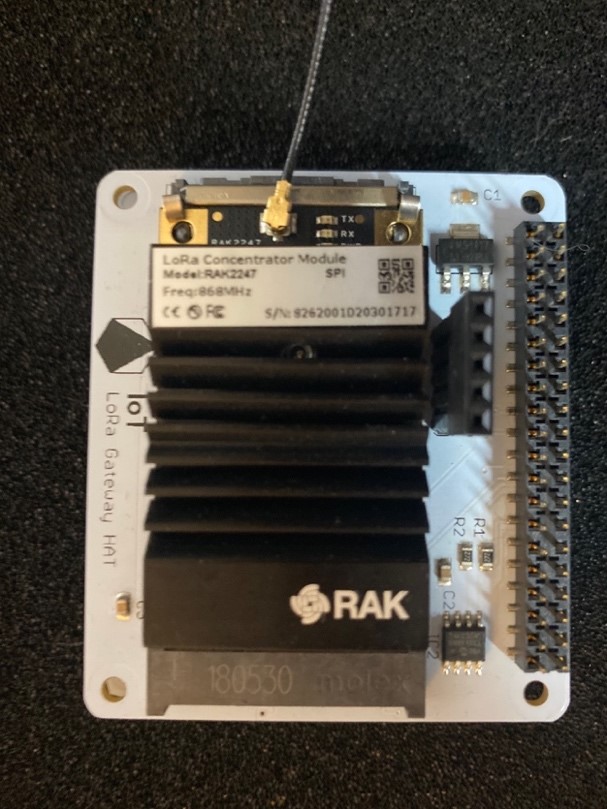
Figure 2: Antenna attached to the Gateway HAT
-
Screw the plastic spacers (included) into the top side of the Raspberry Pi.
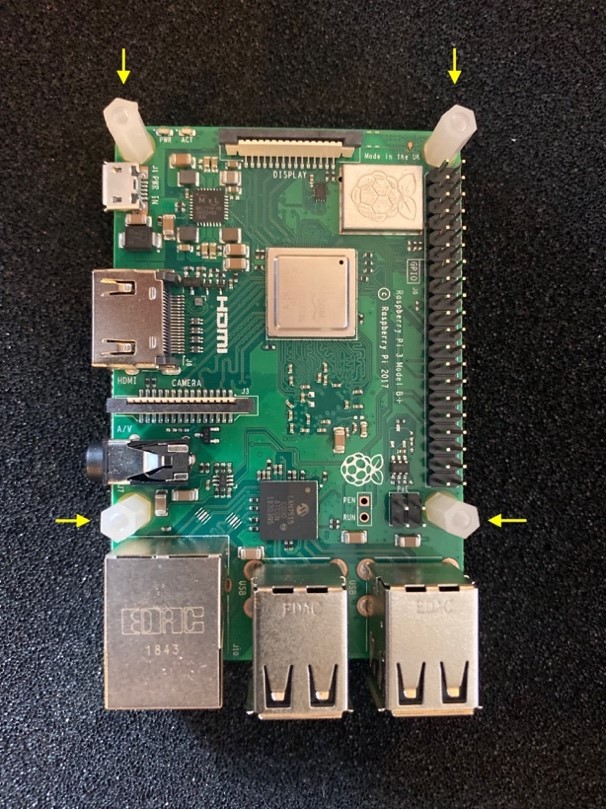
Figure 3: Plastic spacers attached to the Raspberry Pi
-
Attach the gateway HAT to the Raspberry Pi by lining up the pins and pushing firmly.
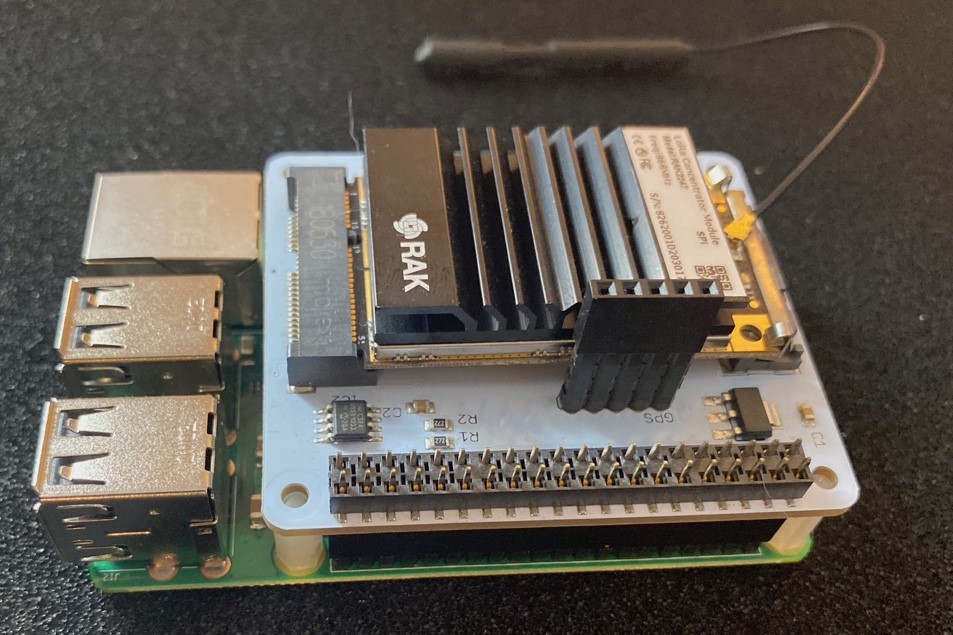
Figure 4: Raspberry Pi with the Gateway HAT attached
-
Screw the four plastic screws through the gateway HAT.
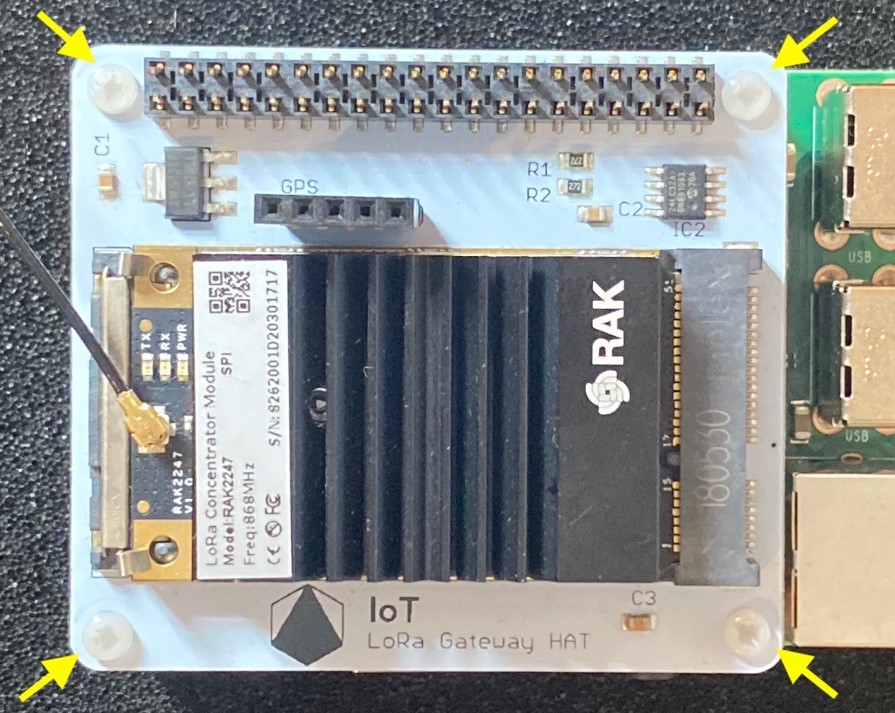
Figure 5: Screwing the Gateway HAT onto the plastic spacers
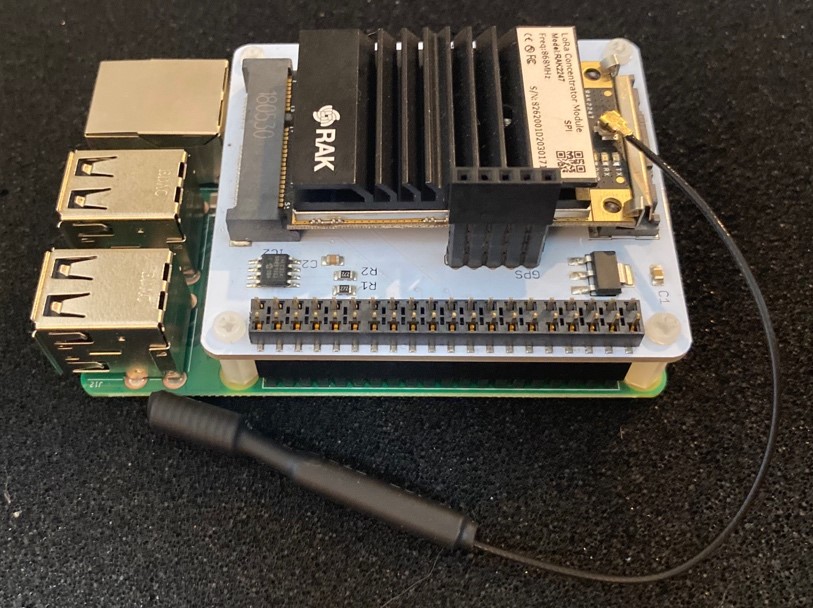
Figure 6: The assembled gateway